Showing: 1 - 7 of 7 RESULTS

Saffron & Sun-Drenched Tomato Focaccia

A Middle Eastern inspired simple no-knead focaccia recipe with the addition of saffron and sun-drenched tomatoes. Wonderfully fluffy and moreish.

What is Focaccia?

Focaccia is a flat leavened oven-baked Italian bread. It can be served as a side dish or as sandwich bread and it can be round, rectangular, or square shape. I love making focaccia in the summer and this recipe feels particularly summery with its warming saffron notes and the use of sun-drenched tomatoes.

The Difference between Sun-Drenched and Sun-Dried Tomatoes?

Sun-drenched tomatoes have had less time in the sun (to remove some of their water content) and are slightly less chewy and more juicy than sun-dried but you can totally substitute with sun-dried tomatoes. Feel free to add rosemary or other herbs to the focaccia. The sun-drenched tomatoes I use come in an oil and basil dressing so I just use that.

The Magic of ‘No Knead’

You achieve a rise from a no-knead focaccia by leaving the dough it in the fridge over night. But if you want the focaccia quicker, then mix all the dough ingredients and knead by hand for 10 to 15 minutes. Leave to prove until it has doubled in size (up to 2 hrs) and then follow steps 3 to 5 below.

How to Serve

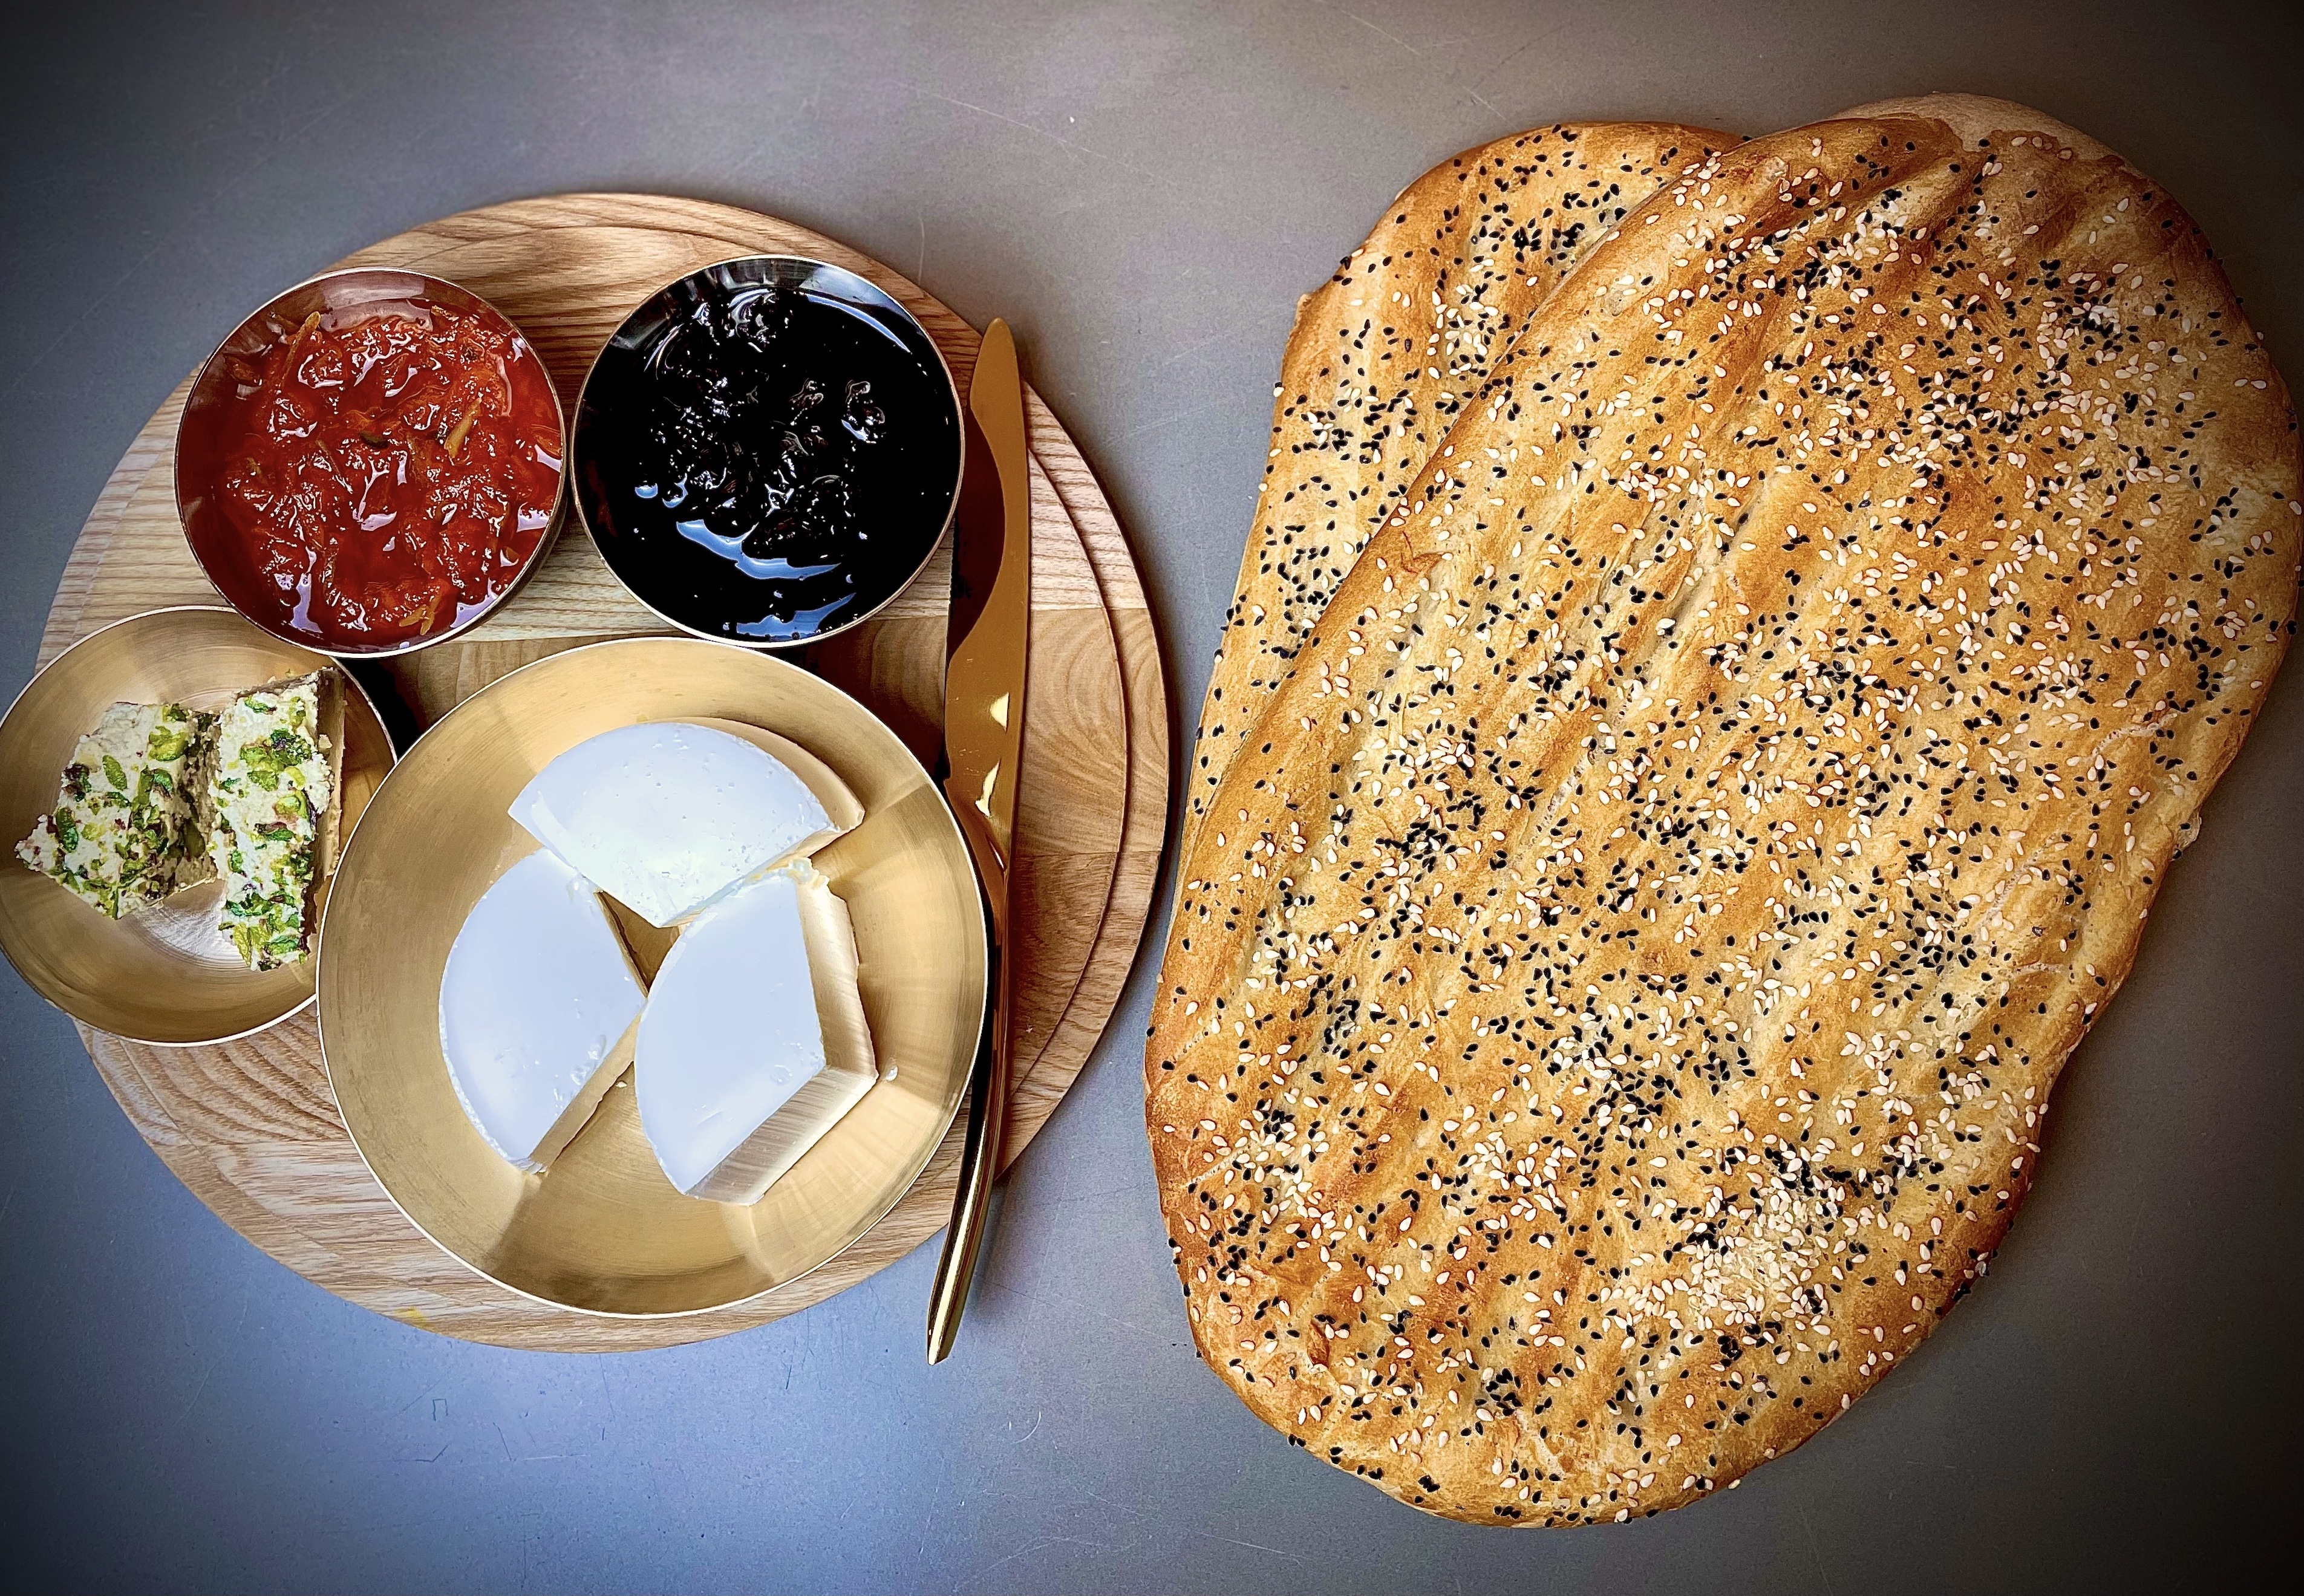
Serve with a charcuterie-style board of Italian cold cuts and picky bits as pictured above. Also great served as part of a Mezze offering in light of the Middle Eastern flavours.

Picture above – before the focaccia is popped in the oven.

Other Bread Recipes


Saffron & Sun-Drenched Tomato Focaccia

No-knead focaccia
Prep Time20 minutes
Cook Time20 minutes
Total Time40 minutes
Course: Appetizer, Side Dish, Appetiser
Cuisine: Cross-cultural
Servings: 10
Author: Mersedeh Prewer

Ingredients

  • 400 g strong white bread flour
  • 5 g fast-acting dried yeast
  • 4 tbsp olive oil (plus extra for greasing)
  • 160 g pack sun-drenched tomatoes (I use Waitrose ones which have a basil dressing)
  • 1 tbsp sea salt flakes
  • 250 ml tepid water plus 1/4 tsp of ground saffron (bloom the saffron in the water for about 5 minutes before adding to flour)

Instructions

  • Add flour, yeast, 1 tbsp olive oil and 1 tsp salt into a large bowl. Add 250ml saffron water and mix with a wooden spoon to make a sticky dough. Cover with cling film and put in the fridge overnight or up to 24 hrs.
  • Once the dough has doubled in size, remove from the fridge and leave in a warm place for no less than 1 hr to bring up to room temperature.
  • Oil a 23cm (ideally square) roasting tin and scrape the dough in. Oil your hands and push the dough out towards the edge of a tin to create a rough square shape. Cover and leave for about an hour or two in a warm place.
  • After this further proving time, the dough will be very soft and airy and filled the tin comfortably. Scatter and push in the tomatoes, sprinkle the remaining salt over and drizzle with a little olive oil. Use your fingertips to create dimples in the dough, pressing in the tomatoes and spreading the dough to the corners. Cover and leave to rise for another 1 hr.
  • Heat oven to 220C/200C fan/gas 7 at least 15 mins before cooking the bread. Uncover the dough, drizzle with the remaining oil and bake on the middle shelf for 20 mins or until golden brown. Cool in the tin for about 10 mins before transferring to a wire rack, or eat warm.

Sesame and Nigella Seed Flatbread

Follow the recipe below for fluffy, pillowy yet perfectly chewy flatbread. Great served as part of a Mezze to scoop up dips with or wrapped round a kebabs!

Hands down, this is the best flatbread recipe I have developed. After a a year of testing various quantities (with milk, without milk, with yoghurt, without yoghurt, yeast or no yeast – and the list of variations goes on), I am so happy with this fluffy, pillowy yet perfectly chewy flatbread.

What is Flatbread?

In general, flatbread is bread made with flour; a liquid such as water, milk or yogurt, and salt. Some are leavened (made with yeast) others are unleavened. They range from below one millimetre to a few centimetres thick. Flatbread can be baked in an oven, fried in hot oil, grilled over hot coals, cooked on a hot pan, or metal griddle, and eaten fresh or packaged and frozen for later use.

They are commonly eaten in Middle-Eastern and South Asian cuisine.

What are the Ingredients for this Recipe?

This flatbread recipe is a leavened one so will need proving time for the bread dough rise.

You will need the following ingredients to make these flatbreads.

  • Strong White Bread Flour. I always use strong bread flour for my bread as I love the texture. The main difference between strong bread flour and other types of flour is its high protein content. This creates more rise and structural support in the dough, allowing the final product to lift and hold shape. It also creates a chewier texture and more browning in the crust.
  • Stone Ground Wholemeal Bread Flour. The use of wholemeal flour brings about a lovely nuttiness to this flatbread.
  • Water, Caster Sugar and Fast Action Yeast. These ingredients are mixed together to activate the yeast, then added to the flour to create the rise in the flatbread.
  • Greek Yoghurt. Provides a lovely tanginess to the bread and helps to create the lovely soft and doughy texture.
  • Salt. Needed to season the bread otherwise it would be very bland.
  • Olive Oil. Added to the bread dough to help with the structure and texture of the bread. Also needed to oil the bowl for proving and to brush on the flatbreads before cooking.
  • Sesame Seeds. Provides a a crunchy texture to the flatbread and a lovely nutty flavour.
  • Nigella Seeds. Provides a lovely crunch and a slightly onion flavour to the bread. Also known as Kalonji or black Cumin Seeds.

What to Serve with Sesame and Nigella Seed Flatbread?

See below for a number of my recipes you can dip this flatbread into – dals, dips and curry!

From top left: Persian-Style Dal; Mirza Ghasemi; Borani Laboo; Maast O’Moosir; Kashke Bademjan; Rose Harissa Aubergines and Hummus; Borani Esfenaj; Coconut and Herb Chickpea curry; Maast O’Khiar.


Sesame and Nigella Seed Flatbread

Prep Time20 minutes
Cook Time40 minutes
Proving2 hours
Total Time3 hours
Course: Side Dish
Cuisine: Middle-Eastern
Servings: 6 flatbreads
Author: Mersedeh Prewer

Ingredients

  • 425 g strong white bread flour (plus extra for dusting surface if kneading by hand)
  • 75 g stone ground strong wholemeal bread
  • 250 ml tepid water
  • 1 tsp caster sugar
  • 7 g sachet of dried yeast
  • 100 g Greek yoghurt
  • 1 tsp salt
  • 1 tbsp olive oil (plus extra to oil proving bowl and to brush on flatbreads before cooking)
  • 2 tbsp sesame seeds
  • 2 tbsp Nigella seeds

Instructions

  • Pour water into a jug, add sugar and yeast and stir to dissolve. Leave loosely covered for 10 minutes until it activates and has a bubbly surface.
  • Sift the white and wholemeal flours into a large bowl or the bowl of your stand mixer. Stir in salt, sesame seeds and Nigella seeds. Pour in yoghurt and olive oil.
  • Gently pour in the activated yeast and bring the mixture together (either by hand or slow speed on the stand mixer). Then increase speed and / or knead by hand until smooth-ish and elastic for about 8 to 10 minutes (the wholemeal flour and seeds will not result in a typically smooth dough). If kneading by hand you may need to add a little extra flour for dusting your surface as the mixture is quite wet.
  • Tuck the dough under to form a ball and place in a bowl oiled with a drizzle of olive oil, cover with cling film and then a tea towel and leave in a warm part of your home to prove until it has doubled in size (usually between 1 to 2 hrs).
  • Once the dough has proved, knock back gently and remove from the bowl. Divide into 6 pieces, dust with a little flour, and using the palm of your hand roll into balls. Leave the balls of dough covered with a tea towel on your work surface for about 15 mins to prove further.
  • Roll the dough pieces one by one, using a rolling pin, into a circle shape approx 20 cm in diameter.
  • Heat a medium sized frying pan or flat skillet on medium heat (allow for about 1 minute).
  • Brush one side of the uncooked flatbread with olive oil and place that side down into the frying pan and cook until bubbles start to form on top of the flatbread (approx 1 to 2 minutes). Brush the topside of the flatbread with a little olive oil and then flip and cook on that side for about 30 second to 1 minute. The aim is to get the flatbreads golden and bubbly.
  • Remove from the heat and place the flatbread in a tea towel to keep soft and warm, while you cook the others.
  • Serve warm and straight after cooking, or reheat later on either by toasting in a toaster on a low heat or wrapping in foil and warming up in a medium / low oven circa (160°C (fan oven) / 180°C (conventional) / gas mark 4) for about 10 mins.

Simit (Turkish Sesame Encrusted Bread)

Also know as the Turkish Bagel, these beautifully doughy yet crunchy sesame encrusted bread rings are perfect for a Turkish-style breakfast or as sandwich bread.

What Is Simit?

Simit is a circular bread encrusted with sesame seeds, which is common to the cuisines of the former Ottoman Empire and the Middle-East. It is widely known as a Turkish bagel in the USA and Koulouri in Greece. They are commonly eaten at breakfast and are a much loved street food available on many corners in Istanbul. They have a crispy exterior and a soft doughy interior, which can be created using a standard bread dough mixture.

The distinctive taste of Simit comes from a combination of toasted sesame seeds and a grape molasses glaze. Grape molasses can be found online or at Middle-Eastern supermarkets. Sesame seeds are widely available in their raw form, so you will need to toast them in a dry frying pan before coating the Simit rings.

Kahvalti

I was first introduced to Simit during one of our holidays in Turkey. Many of us Iranians love holidaying in Turkey as it feels familiar but with the freedoms we cannot enjoy in our own motherland. In fact, I have travelled to Turkey more than I have to Iran. The hospitality, the food and the weather make for the perfect destination for my family and it feels like home. 

The variety of baked goods available in Turkey is incredible and Simit is no exception. You will often find it offered as part of the Turkish breakfast spread offering known as Kahvalti. The commitment to breakfast is incredible in Türkiye. Kahvalti translates to “before coffee” and is all about gathering and sharing dishes with your family. Turkish restaurants and families at home prepare many little dishes to fill the breakfast table, allowing you to sample them at your leisure .

How to serve Simit

When I bake them at home, we either eat them with feta and halva or with clotted cream and honey. We also love having them as an accompaniment to egg dishes (as pictured below). The recipe for Nargessi (Persian spinach Eggs as pictured) can be found here.

For a traditional Turkish breakfast serve alongside with Menemen (Turkish scrambled eggs with tomatoes).

Storing Simit

Simit is at its best fresh out of the oven. Store in an airtight container up to 3 days once it is cool. Just bake in  a medium to hot oven for 5 to 10 mins to refresh or slice and toast.


Simit

Turkish Bagels
Prep Time20 minutes
Cook Time20 minutes
Proving Time x 21 hour 30 minutes
Total Time2 hours 10 minutes
Course: Breakfast, Accompaniment
Cuisine: Turkish
Keyword: Simit, Turkish Bagel, Gevrek, Koulouri
Servings: 6
Author: Mersedeh Prewer

Ingredients

Simit Dough

  • 500 g strong white bread flour (plus extra for sprinkling on your surface when shaping the Simit)
  • 7 g fast-action yeast
  • 1 tsp salt
  • 300 ml tepid water
  • A little olive oil (to oil the bowl the dough proves in)

Simit Topping

  • 100 ml grape molasses (üzüm pekmezi)
  • 50 ml water
  • 2 tsp flour
  • 300 g toasted sesame seeds

Instructions

  • Mix strong white flour, salt and fast-action yeast in a large bowl making sure the salt and yeast are kept apart at this initial stage. Make a well in the centre, then add 300 ml water, and mix well.
  • Tip onto a lightly floured work surface and knead for around 10 mins. Once the dough is smooth, place it in a lightly oiled bowl and cover with cling film. Leave to rise for 1 hour or until doubled in size.
  • Mix the grape molasses, water and flour in a large bowl.
  • Prepare the toasted sesame seeds. Take the raw sesame seeds, toast in a dry pan until golden, shaking and stirring the pan regularly. Take care not to burn the seeds. It should only take a few minutes to toast the sesame seeds.
  • Preheat the oven to 220°C / fan 200°C / gas 7 / 425°F. Place a baking tray in the oven.
  • Once the dough has proved, cut into 12 equal sized pieces. Sprinkle some flour on the surface and roll each piece into a long sausage about 25cm long. Take two of the rolled dough pieces and place them alongside each other. Squeeze the ends together and roll the ends in opposite directions, causing them to braid. Squeeze the two ends together to form a ring. Repeat with the remaining dough.
  • Dip the simits into the grape molasses mixture until covered. Cover completely with sesame seeds. Stretch the dough a little as you do this to ensure the Simit is even but don't worry if it is not perfect - rustic is a great look! Place the ready Simits on a piece of baking paper, cover with a tea towel and let prove for a further 30 mins.
  • Bake for 15 to 20 mins until cooked through and golden brown on the outside. Check the Simit occasionally to make sure it doesn't burn and turn the heat down if necessary.
  • Leave to cool on a cooling rack. Simit is best eaten while still warm so if you don't eat them straight away, reheat in the oven before consuming.

A Persian Homage to the Victoria Sandwich


I love cake. My cake love came later in life as I was a real savoury food seeker until my thirties. Then the delightful past-time of cake and coffee on a lazy sunday afternoon developed and it is a ritual I like to keep up. Most of the time I like to venture into my local coffee shop and bakery but once in a while I channel Mary Berry and produce a home-baked goody.

One of my Mary Berry moments resulted in this delight. I really fancied a Victoria Sandwich, mostly because it brings so much joy with very little baking effort! The only problem was I only had Persian sour cherry jam in my cupboard as opposed to strawberry or raspberry. I briefly contemplated heading out to the nearest shop for jam but it was a Sunday, my pyjamas felt snug and frankly I couldn’t be bothered. I rummaged around my kitchen cupboards for flavour inspiration to match with the sour cherry jam. I landed on lime and vanilla for the sponge, rose water flavoured whipped cream and ground pistachios for the decoration. The experiment was a success and my Persian version of the British classic Victoria Sandwich is a firm favourite in my household.

The cake batter is the standard ‘225 grams of  butter, sugar and self-raising flour plus 4 eggs’ mixture. It’s a great cake batter and one where even the novice baker will yield the perfect crumb. I also use this for cupcakes.

You can get your hands on sour cherry jam, rose water and pistachios from most Middle-Eastern food shops or online. The brand of sour cherry jam I use is ‘1&1’ but ‘Anjoman’ is also an excellent alternative. If all else fails just use a good quality cherry jam from your local supermarket which will also have rose water and pistachios.


A Persian Homage to the Victoria Sandwich

A lime and vanilla sponge layered with rose flavoured whipped cream and sour cherry jam
Prep Time30 minutes
Cook Time25 minutes
Total Time55 minutes
Course: Dessert
Cuisine: Persian, British, Cross-cultural
Keyword: cake, victoria sandwich
Servings: 12
Author: Mersedeh Prewer

Ingredients

  • 225 g golden caster sugar
  • 225 g unsalted butter (plus a little extra to grease tins - at room temperature)
  • 4 free range eggs
  • 1 tsp vanilla paste
  • zest of 1 lime
  • 2 tsp baking powder
  • 225 g self-raising flour
  • 1 jar sour cherry jam (290g)
  • 300 ml whipping cream
  • 1 tbsp rose water
  • 1 to 2 tbsp icing sugar (to dust)
  • 2 tbsp ground pistachios

Instructions

  • Preheat the oven to 180°C conventional / 160°C Fan / Gas mark 4. Grease and line the bottom of two 20cm/8in sandwich tins with a circle of baking paper.
  • In a mixing bowl, beat the butter and sugar until light in colour and fluffy. Crack the eggs one by one and beat each one in before adding the next.
  • Add the vanilla extract and lime zest. Then sift the flour and baking powder into the bowl and gently fold into the mixture.
  • Divide the mixture evenly between the tins, using a spatula to remove all of the mixture from the bowl. Gently smooth the surface of the cakes. Place the tins on the middle shelf of the oven and bake for 25 minutes. Don’t open the door while they’re cooking.
  • While the cakes are cooking, add the whipping cream and rose water to a mixing bowl and whip until it forms stiff peaks.
  • The cakes are done when they’re golden brown and coming away from the edge of the tins. Remove them from the oven and set aside to cool in the tins for 5 minutes. You can use a thin skewer or the tip of a sharp knife to check the cakes by gently poking the centre to the bottom. It should come out clean of cake batter. Run a palette knife around the inside edge of the tin and carefully turn the cakes out onto a cooling rack. Set aside to cool completely.
  • To assemble, choose the sponge with the best top, then put the other cake top-down on to a serving plate. Spread with the sour cherry jam (I use the whole jar - reserve some of the jam liquid to drizzle on top of the whipped cream), then spread the whipped cream on top of the jam and drizzle the remaining jam liquid over the cream. Place the other sponge on top and dust with icing sugar and the ground pistachios.

Cherry and Pistachio Brownies

Indulgent and fudgey brownies made with luxardo cherries and pistachios. A lovely accompaniment to a cup of Persian chai (tea).

Cherry and Pistachio Brownies

This brownie recipe is one I created to add to the selection of tea-accompanying sweet treats for the chocolate lovers in my family. I have adapted a standard brownie recipe and added Luxardo Maraschino Cherries and fresh pistachios to add a little Persian touch to a familiar friend.

For those of you who have not come across Luxardo Maraschino Cherries, these are candied cherries soaked in Luxardo marasca cherry syrup. Often used by mixologists for their cocktails, replacing those bright red cocktail cherries, with a deep purple, slightly sour cherry. They are incredible in cocktails, but also an amazing addition to baking recipes or just being poured (with the syrup) over a vanilla ice cream. Using them in a brownie recipe adds to the gooey texture and balances the sweetness with a subtle sour note.

These brownies can be eaten as a dessert with cream or custard, should you fancy. I break mine down into little bites and enjoy them with a glass of hot Persian tea.

The Art of Making Tea

We Iranians love our tea (chai).  As far back as I can remember my maman has always had a samovar in her kitchen. Samovars are traditionally used to make tea. Originating in Russia, the samovar has spread through Russian culture to other parts of Europe and the Middle-East, including Iran. Samovars are typically crafted out of metal such as plain iron, copperp or polished brass. It usually consists of a body, base and chimney, steam vent and teapot. The body shape is usually like a barrel and the water is boiled in this section.

Many samovars have a ring-shaped attachment around the chimney to hold and heat a teapot filled with tea concentrate (tea leaves with water). The tea pot is placed on the chimney and is steamed by the boiling water in the body of the samovar. The tea is then poured into a glass and then hot water is poured in to dilute the tea to your liking i.e. the right colour. No milk is added to our tea. Modern samovars now look like giant kettles and are made using plastic.

Most Iranian households will have a special blend of tea leaves that they mix themselves from varieties such as Early Grey, Darjeeling and Assam. I remember my maman pouring all her chosen tea leaves into a large bowl and mixing them by hand with the aroma of the leaves filling the kitchen. That aroma is amplified into another level of joy while it steams in the little tea pot on the samovar. Then when the fragrance hits your nose before you take your first sip.

What Iranians Serve with Tea

Part of tea drinking ritual is having sugar cubes or sweet nibbles served alongside our tea. The veteran tea drinker will place a sugar cube in their mouth and sip their tea, with the cube breaking down and sweetening each intake of the beverage. Some of us like our tea with the well-known Middle-Eastern sweet treat, Baklava. With a table full of Persian treats ranging from biscuits to nougat, we are often spoiled for choice.

Despite the array of these Persian delights my heart always belongs to chocolate! Being born and brought up in the UK, chocolate was introduced to me at a young age and if it is on offer I always choose it first over other sweet treats. Whether it is the posh stuff that a Swiss-based relative has brought over as soghati (a gift from their travels) or the cheap stuff we gorged on as kids – I am not picky!

Other Sweet Delights

Check out some other sugary treats!


Cherry and Pistachio Brownies

Prep Time10 minutes
Cook Time35 minutes
Total Time45 minutes
Course: Dessert, Sweet Treats
Cuisine: Cross-cultural
Servings: 12 portions
Author: Mersedeh Prewer

Ingredients

  • 175 g unsalted butter (cut into cubes)
  • 200 g dark chocolate (good quality - 70%+ cocoa)
  • 325 g caster sugar
  • 130 g plain flour
  • 1/2 tsp sea salt
  • 3 free-range eggs
  • 125 g Luxardo Cherries (chopped) (plus 2 tbsp of the syrup)
  • 2 tbsp ground fresh pistachios (the pistachios do not need to be finely ground as you want some texture in the brownie mix) (plus extra to decorate)
  • 1 tsp icing sugar (to decorate)

Instructions

  • Preheat oven to 160°C (fan) / 180°C (conventional) / Gas mark 4. 
  • Line a baking tray (33cm x 23cm x 5cm) with baking paper / grease-proof paper.
  • Put chocolate and butter in a heatproof bowl over a saucepan of simmering water. Do not let the base of the bowl touch the water. Leave mixture to melt. Stir to ensure there are no lumps and the butter and chocolate are fully incorporated.
  • Remove from heat. Add sugar and stir until incorporated. Add flour and salt and stir until well incorporated. Stir in eggs and mix until smooth. The mixture will have a thick consistency.
  • Add chopped cherries, cherry syrup, ground pistachios and mix in. Spoon the mixture into the prepared baking tray.
  • Place tray in oven for about 30 to 35 mins. The brownies are done when they are flaky on top but still gooey in the middle. Be careful not to over-cook as the edges will become crunchy and hard.
  • Once baked, leave to cool before dusting with the icing sugar and sprinkling with ground pistachios.

Persian Delights (Rose Water & Pistachio Cupcakes)

Make these Persian inspired cupcakes flavoured with rose water and pistachios. Beautifully elegant whether serving at home to friends or as wedding cupcakes.

I first made these cupcakes over 10 years ago for a friend’s wedding and they have been a firm favourite ever since.

I experimented with many flavours but these were the favourite amongst my family. Not surprising really as they are flavoured with rose water and pistachio. Had I found a use for saffron in the recipe, then I would have had the holy trinity of Persian desserts! But I felt the pink and ivory tones were perfect for the cupcakes’ presentation and that the yellow effect of incorporating saffron would not have been as aesthetically pleasing.

The Rise of the Cupcake

Cupcakes enjoyed a lot of attention and glamour following the episode in Sex and the City featuring Magnolia Cupcakes. The UK saw Violet’s Cakes, Hummingbird Bakery and Lola’s Cupcakes as the UK’s representation in the delicious world of luxury cupcakes.

Most people I speak to have baked cupcakes before but even if you are a first-timer, despite how pretty these mini cakes look, they are very easy to create. Many of us have cake-making equipment in our kitchen nowadays, such as electric beaters or stand mixers and if not it’s a great workout for the arms!

Standard Cake Batter Recipe

My go-to recipe for a basic cake batter is what I call the 4:225 ratio. For 4 eggs, I use a weight of 225 grams for the dry ingredients and butter.

  • Unsalted butter –  225 grams;
  • Caster sugar -225 grams;
  • Self-raising flour – 225 grams;
  • Free-range eggs x 4;
  • 1 teaspoon baking powder; and
  • 1 teaspoon Vanilla extract.

The above are the ingredients for a basic vanilla sponge. I then add other flavours, such as rose for this recipe or lime zest for my cherry and lime flavoured victoria sandwich. This standard cake batter recipe creates a lovely crumb and yields 12 cupcakes in a muffin-style tray or 1 x two layer victoria sandwich (8″ diameter). 

Decorating the Cupcakes

For the decoration, I use a standard buttercream icing flavoured with vanilla and rosewater. I use crushed fresh pistachio slivers and edible rose petals, which are both available from Iranian and Middle-Eastern supermarkets. If you cannot get your hands on rose petals, then crushed fresh pistachios are equally lovely for decorating.

Storing the Cupcakes

Store cupcakes in an airtight container for up to 3 days.


Persian Delights Instagram Reel


Persian Delights

Rose water and pistachio cupcakes
Prep Time25 minutes
Cook Time25 minutes
Total Time50 minutes
Course: Dessert, Sweet Treats
Cuisine: Persian, British, Cross-cultural
Keyword: cupcakes
Servings: 12 large cupcakes
Author: Mersedeh Prewer

Ingredients

Cake Batter / Sponge

  • 225 g unsalted butter (room temperature)
  • 225 g caster sugar
  • 4 medium free range eggs (room temperature)
  • 225 g self-raising flour
  • 1 tsp baking powder
  • 1 tsp vanilla extract
  • 1 to 2 tbsp rose water (depending on how floral you want it)
  • 1 to 2 tbsp ground fresh pistachios

Buttercream Icing and Decoration

  • 250 g unsalted butter (room temperature)
  • 450 g icing sugar
  • Pink food colouring (if you want your cupcakes to have a pink tint - I do a mix of ivory and light pink cupcakes)
  • 1 tsp vanilla extract
  • 1 to 2 tbsp rose water
  • 2 tbsp milk
  • Ground pistachios and edible rose petals (for decoration)

Instructions

For the Cupcake Sponge

  • Preheat oven to 160°C (fan) / 180°C (conventional) / Gas mark 4. Line a 12-hole cupcake tin with cases (deep fill cupcake tin).
  • In a mixing bowl, beat butter and sugar until light in colour and fluffy.
  • Crack eggs one by one and beat each one in before adding the next.
  • Add vanilla extract and rose water. Then sift flour and baking powder into bowl and gently fold into mixture.
  • Add ground pistachios and gently fold into mixture.
  • Divide mixture equally into cupcake cases and place in oven for 20 to 25 mins. To check if cupcakes are done, use a thin skewer to check one by gently poking to the bottom. It should come out clean of cake batter. Leave cupcakes to cool completely on a wire rack.

For the Buttercream Icing and Decoration

  • Make buttercream by beating butter until light in colour and then sift the icing sugar gradually and beat until fully mixed.
  • Then add vanilla extract, rose water and milk and mix. I halve my icing mixture and add pink food colouring to one batch and leave the other half an ivory colour. 
  • Make sure your cupcakes have cooled and then pipe or spread your icing onto the cupcakes.